
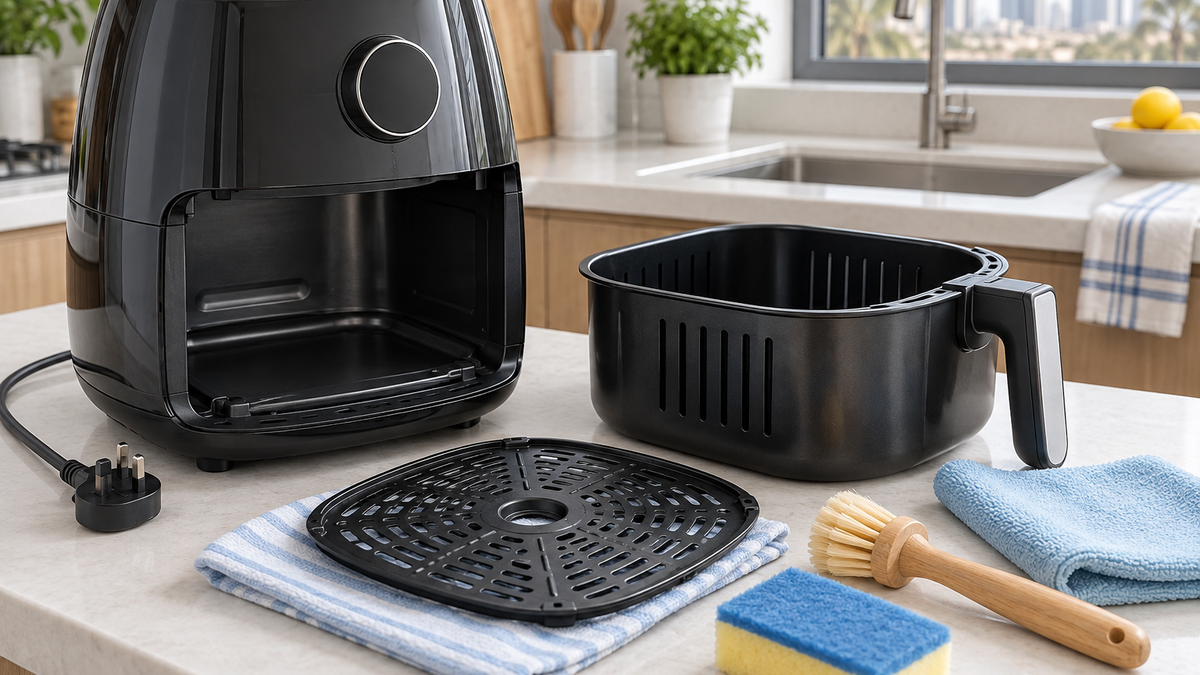
Before you clean: the safe sequence
- Switch off and unplug the appliance.
- Let it cool for the time stated in the manual.
- Remove the basket, drawer or pan and crisper plate.
- Check which parts are dishwasher-safe, hand-wash only or non-immersible.
- Keep the main appliance, controls, cable and plug away from water.
Philips’ current support guidance for its covered Airfryer models says to allow about 30 minutes of cooling and avoid metal utensils or abrasive cleaners on the non-stick coating. Apply that detail only to the listed models; use your own manual for yours.
After-every-use cleaning
| Part | Routine method | Avoid |
|---|---|---|
| Basket/drawer | Warm water, mild washing-up liquid, soft sponge | Metal scourers and sharp utensils |
| Crisper plate/rack | Soak if permitted, then use a soft brush | Forcing debris with a knife |
| Interior | Cool, slightly damp non-abrasive cloth | Pouring water into the appliance |
| Exterior/control panel | Soft barely damp cloth, then dry | Sprays entering seams or controls |
| Heating area | Exact model-manual method only | Cleaning while hot or wetting electrics |
Remove crumbs and grease before they bake on during the next cycle. If the coating is still hot, sudden cold water may be unsuitable; follow the cooling sequence in the manual.
How to remove stuck-on grease
Fill only the removable washable basket or pan with warm water and a little mild washing-up liquid. Let it soak, then loosen residue with a soft sponge or non-metal brush. Do not fill the air-fryer body with water.
- Repeat a gentle soak instead of scrubbing harder.
- Clean around removable silicone bumpers only if the manual shows they can be removed.
- Rinse away detergent and dry parts completely.
How to clean the heating element
The heating element sits close to electrical and fan components, so there is no universal deep-clean procedure. Unplug, cool and consult the exact manual. Some manufacturer guidance permits turning the empty appliance upside down for access and using a soft brush; do not assume that method applies to every design.
Never pour cleaner into the heating chamber, use a wet dripping cloth near electrical parts, or scrape the element. If grease is inaccessible, the element is damaged, or smoke continues after ordinary cleaning, stop using the appliance and contact authorised service.
Deep-clean checklist
- Clean and inspect all approved removable parts.
- Wipe the cool cooking chamber and drawer rails without flooding gaps.
- Remove crumbs from air inlets and outlets with a dry soft tool if the manual permits.
- Check the cable, plug, basket coating and silicone parts for damage.
- Dry, reassemble and leave ventilation openings clear.
Common cleaning mistakes
- Assuming “dishwasher-safe” applies to every removable-looking part.
- Immersing the appliance body or letting water enter controls.
- Using oven cleaner, abrasive powder, metal wool or sharp tools without manufacturer approval.
- Running the appliance empty with chemical cleaner inside.
- Covering a dirty basket with a liner instead of cleaning it.
Before using liners, read the foil and baking-paper safety guide; permission and placement vary by model, and liners must not become a substitute for airflow or cleaning.
Can cleaning affect preheating or cooking results?
Heavy residue can cause odour or smoke and may obstruct airflow. Cleaning will not fix every performance problem, however. Confirm loading, temperature and whether your model expects a warm-up.
See the model-sensitive air fryer preheating guide before adding an empty heating cycle to your routine.
Final recommendation
Clean removable food-contact parts after use, address stuck grease gently, and treat the heating area as model-specific. Replace badly damaged coated parts rather than continuing to scrape them.
If easy cleaning is a buying priority, compare basket design and replacement-part support in our Best Air Fryers in UAE guide.